
TL;DR: Wash beeswax wraps by hand in cool or lukewarm water with a drop of mild dish soap, then air dry flat — hot water melts the wax coating right off, so the dishwasher, the hot tap, and the microwave are all off-limits. A wrap that's gone stiff, flaky, or lost its stick can almost always be refreshed at home with a fresh coat of wax instead of thrown out.
If a beeswax wrap has gone stiff, stopped sticking to itself, or started shedding little flakes of wax onto the counter, the instinct is to assume it's worn out and needs replacing. Most of the time that's wrong. A beeswax wrap is really just cotton fabric carrying a functional coating, and coatings wear down with use the same way a cast-iron pan's seasoning does — predictably, and fixably. The routine below covers the everyday washing that determines how long a wrap lasts in the first place, plus the two realistic ways to bring a tired wrap back before you write it off.
Quick Reference
| Problem | Cause | Fix |
|---|---|---|
| Losing stickiness | The wax coating has thinned from months of washing and hand-warming | Re-wax at home or apply a renewal wax block |
| Flaking or white, dusty residue | The wax is drying out and separating from the fabric weave | Refresh with a thin new coat of beeswax and jojoba oil |
| Smells sour or "off" | Food residue trapped in the fibers, or the wrap was folded away damp | Wash promptly after every use and dry fully unfolded before storing |
| Cracked, torn, or brittle edges | The fabric has reached the end of its usable life, or was run through hot water or a dishwasher | Downgrade that piece to freezer or bread-bag duty, or retire it |
| Won't hold a seal anymore | Not enough hand warmth was applied, or the wax layer is too thin to grip | Press firmly with warm palms for a few extra seconds; re-wax if it still won't hold |
| Sticky residue transferring onto other items | The wrap was stacked or stored while still warm and tacky | Let it cool and firm up flat on the counter for a minute before folding away |
How to Wash Beeswax Wraps the Right Way
Beeswax wraps work because a thin layer of beeswax — usually blended with jojoba oil and a bit of tree resin for extra grip — sits on top of a cotton weave. That coating goes soft and moldable with hand warmth, which is what lets you press a wrap around a cut avocado or the lip of a bowl and have it hold a seal. It's a genuinely clever bit of low-tech engineering, but it also means the coating is the whole product. Wash it off, and you're left with a piece of wax-stiffened fabric that won't seal anything.
The correct routine is simple, but it only works if you're consistent about it:
- Cool or lukewarm water only. Anything approaching hot water starts to soften and lift the wax off the fabric. A few seconds under water that's too hot won't ruin a wrap outright, but doing it wash after wash is exactly how wraps go thin and patchy months before they should.
- A small amount of mild dish soap. Regular dish soap on a soft sponge or just your fingers is enough to lift off oil and food residue. You don't need to scrub — beeswax has some natural antimicrobial properties, so a light wash is doing more than it looks like.
- Air dry, unfolded, out of direct sun. Drape the wrap over a drying rack or the edge of a dish rack rather than folding it while damp. Folding a wet wrap and stacking it with others is a common cause of that musty smell people mistake for the wrap "going bad" — it's usually just trapped moisture.
- Never the dishwasher. Dishwasher water runs far hotter than any hand wash, and the heated dry cycle will finish the job. A single trip through a dishwasher can strip a wrap's coating almost entirely.
- Never the microwave. This should go without saying, but it comes up: microwaving food still wrapped in beeswax will melt the coating onto your food and your microwave.
Worth saying plainly: we've run wraps through this exact routine for months at a time, and the wraps that got washed properly every single time still noticeably outlasted the ones that got an occasional hot-water rinse out of laziness. The difference isn't subtle. One habit worth adding: after washing, give the wrap a firm press between two dry towels before hanging it. It speeds up drying and seems to help the wax layer settle back down evenly rather than pilling in one spot, which is a small thing but it adds up over a few dozen washes.
One more washing note that trips people up: a wrap doesn't need soap every single time. If it only touched a dry item like bread or crackers, a quick cool rinse and a wipe with your fingers is enough — save the soap for wraps that only touched dry food. Over-washing with soap isn't harmful exactly, but it's unnecessary wear on a coating you're trying to preserve, and skipping it when you can is one more small habit that adds months to a wrap's life.
Restoring an Aging Wrap
Even with perfect care, the wax layer thins with every wash and every warm-handed press. That's not a defect — it's the tradeoff for a reusable product with an actively functional coating instead of an inert one. The good news is that unlike most fabric products, a tired beeswax wrap isn't done for good. The cotton underneath is usually still fine; it just needs more wax. There are two realistic ways to add it back, and which one makes sense mostly comes down to how many wraps you're dealing with and how much patience you have for a slightly messy kitchen project.
The DIY Re-Wax Method
This is a real, commonly documented home technique, and it works, but it's a little fiddly the first time you try it. Two versions:
Iron method: Sandwich the wrap between two sheets of parchment paper. Sprinkle a small amount of grated beeswax (plus a few drops of jojoba oil if you're being precise about it) over the thin or flaking patches before you close the parchment. Run a warm iron over the parchment in slow passes until you see the wax melt and soak into the fabric, then let it cool flat for a minute before peeling the parchment away. Go light on the wax — it's much easier to add a second thin pass than to scrape off a gloopy one.
Low-oven method: Lay the wrap flat on a parchment-lined baking sheet, scatter grated wax over any patchy areas, and put it in a low oven (roughly 200°F / 90°C) for a couple of minutes, just until the wax visibly melts. Pull it out, use a spatula or the back of a spoon to spread the melted wax evenly, and let it cool flat before handling.
Both methods get the job done, but honestly expect some trial and error on your first wrap — too little wax and you haven't fixed anything, too much and the wrap turns stiff and clumpy until it's been used a few times to work the excess in. Also keep a dedicated iron or baking sheet for this if you can; wax is a pain to fully clean off cookware, and residue on your regular iron plate can transfer onto clothes later. If precision and a predictable result matter more to you than doing it yourself, the second option below is the easier path.
Buying a Renewal Wax Block
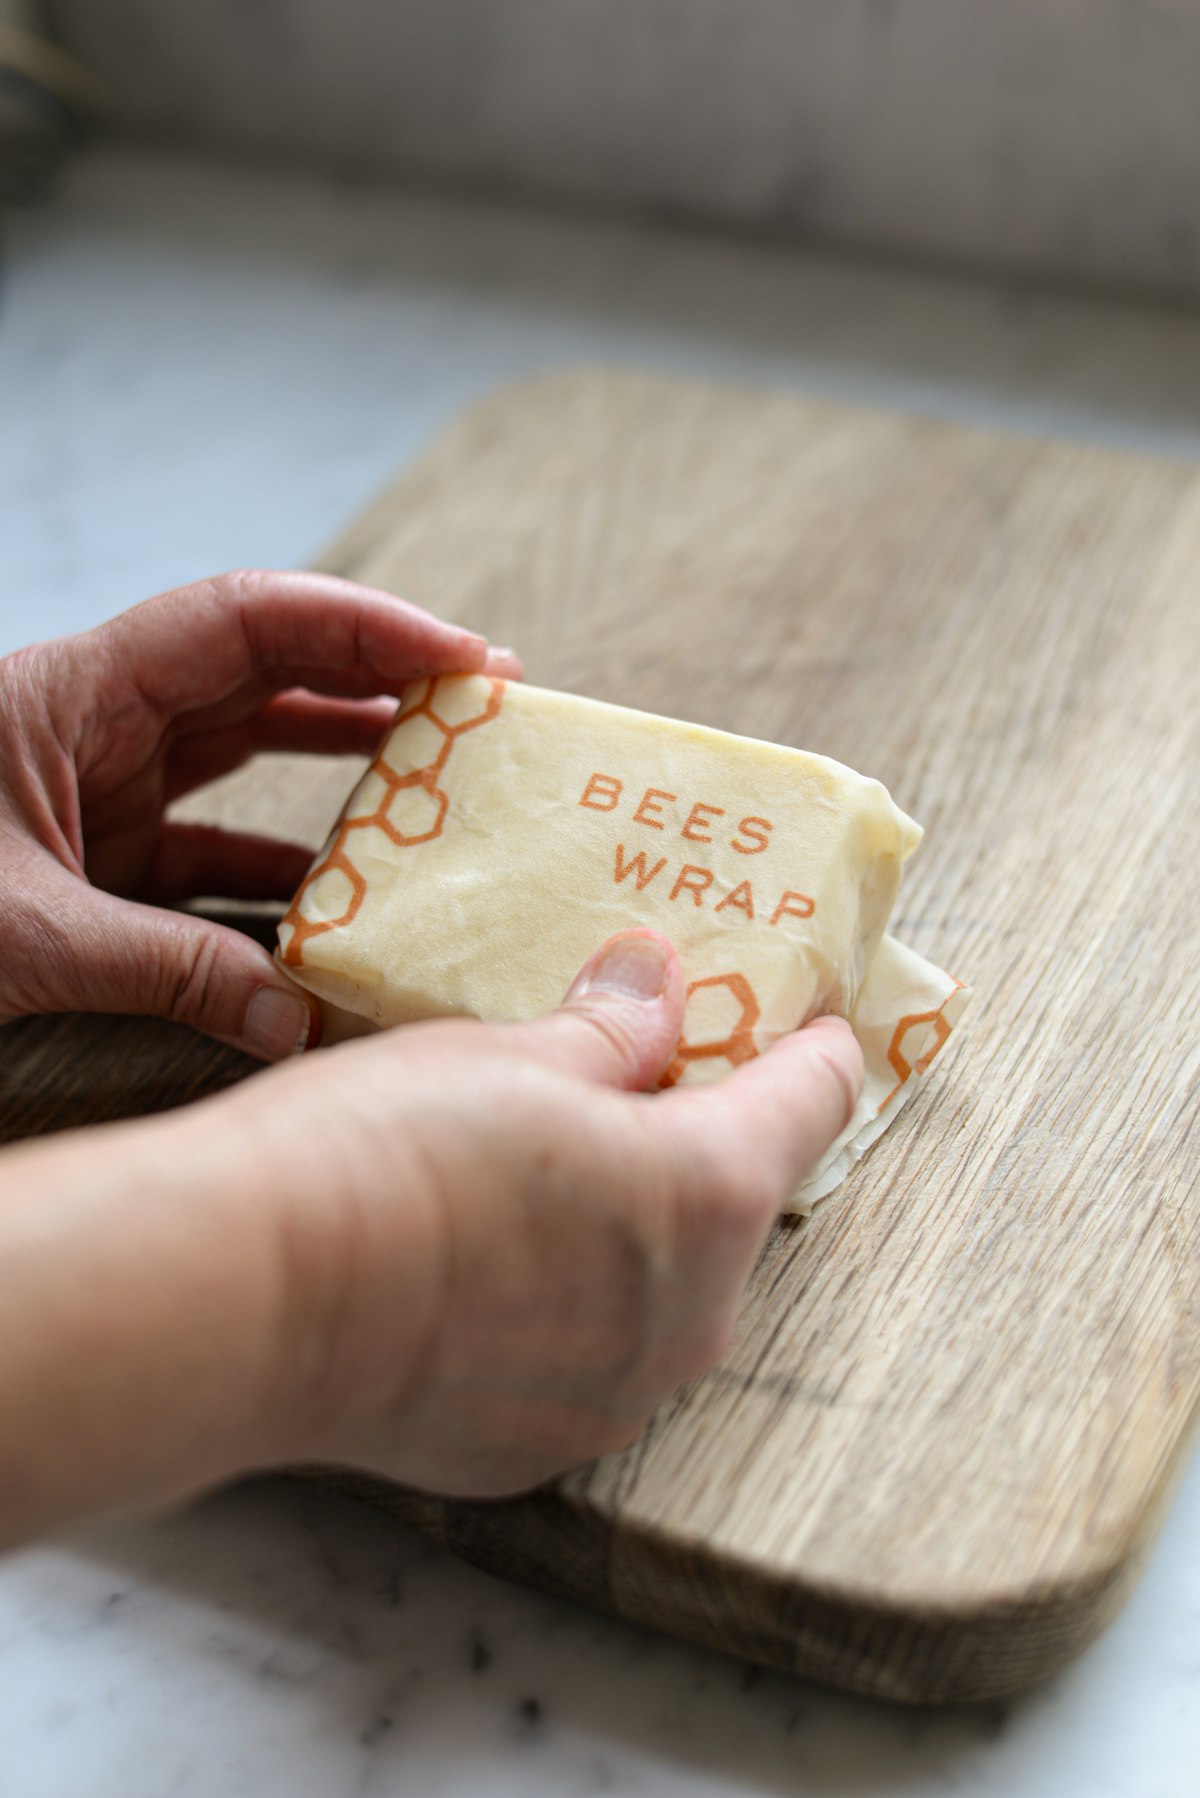
Several brands sell a pre-measured renewal or refresher block specifically for this — Bee's Wrap is one of them, with a bar sized and formulated to match their wraps' original coating. You grate or rub it on, then use the iron or oven method above to melt it in. It costs more per use than buying loose beeswax and jojoba oil separately, but it removes the guesswork on ratio and gives a more consistent result, which matters if your first DIY attempt came out patchy. For anyone with several wraps going thin at once, a renewal block is usually the faster and more reliable route, and it's the option we'd point a first-timer toward before they try mixing their own blend from scratch.
8.7/10SwapSages Eco Score- Ingredient safety: Food-grade beeswax, jojoba oil, and tree resin, no synthetic waxes or petroleum additives
- Plastic elimination: Extends the life of wraps you already own, avoiding a full-set replacement
- Cost per use: One bar refreshes multiple wraps several times over, cheaper than replacing a whole set
If your wraps are past patching — torn fabric, wax that's gone waxy-grey and won't melt evenly, or you're just ready for a clean set — a fresh multipack is the other honest option. Bee's Wrap's assorted packs mix sandwich, snack, and bread-loaf sizes, which covers most kitchen use cases without over-buying.
8.9/10SwapSages Eco Score- Ingredient safety: GOTS-certified organic cotton base with a beeswax, jojoba oil, and tree resin coating
- Plastic elimination: Directly displaces cling film and sandwich bags across daily kitchen use
- Cost per use: Higher upfront cost than plastic wrap, but each wrap is reusable for many months with care
Not sure which kitchen swap to make first?
Take the 2-minute quiz →What Beeswax Wraps Aren't Good For
Part of an honest care guide is being upfront about where this product genuinely isn't the right tool, no amount of re-waxing fixes that. This is a real limitation, not a knock against the format:
- Raw meat, poultry, or fish. Beeswax can't be sanitized at the temperatures needed to kill bacteria from raw protein, and you can't run a wrap through a hot wash or dishwasher to compensate the way you would a cutting board. Keep raw meat in a dedicated container you can properly sanitize instead.
- Very wet or high-moisture food. A wrap can handle a cut melon or leafy greens fine, but it's not built to fully submerge or contain something genuinely sloppy like a soup or a marinade — the seal isn't watertight the way a lidded container is, and moisture that sits against the wax too long will eventually work it loose.
- Hot food straight off the stove. Wrapping something still hot will soften the wax against the food and shorten the wrap's life. Let food cool before wrapping.
- The dishwasher and the microwave. Worth repeating here since it's the single most common way people accidentally kill a wrap early — both come up constantly in the "why did my wrap suddenly stop working" questions we see.
For these use cases, a reusable silicone container is the more honest swap. Something like a Stasher bag seals fully, tolerates the freezer, and can go in the dishwasher or a proper hot wash without any damage — exactly the situations where a beeswax wrap falls short. Most kitchens end up running both: beeswax wraps for produce, sandwiches, and bowl covers, and a couple of silicone bags for meat, marinades, and freezer storage. That combination covers the gaps neither product handles well alone, and it's the setup we'd actually recommend over trying to force one material to do everything.
8.5/10SwapSages Eco Score- Ingredient safety: Food-grade, platinum-cured silicone, free of the wax and fabric limitations above
- Plastic elimination: Replaces disposable zip-top bags for raw meat, marinades, and freezer storage
- Cost per use: Higher upfront price than a beeswax wrap, offset by dishwasher-safe durability over years of use
None of this makes beeswax wraps a lesser product — it just means they're a specialized one. Treat them like the reusable, hand-washed textile they actually are rather than a drop-in replacement for every kind of plastic wrap, keep them out of hot water and off raw meat, and refresh the wax when it thins instead of tossing the wrap at the first sign of wear. Most of a wrap's usable life is decided by these washing and storage habits, not by the wrap itself — the same set you buy today can realistically still be in rotation a year from now if it gets the routine above.


Reviews & Comments
Loading...